Reassembling a vehicle is one of the last steps of the vehicle repair process, where all the parts and components are put back into place. Unlike a 1000 piece puzzle, you don’t get to double-check a picture to guide you through the reassembly. But the guys aren’t completely in the dark: They rely on a system that helps make sure no pieces are left behind.
It makes sense that the basics of reassembly work begin during the first steps of the build down, where all the pieces are taken apart and deployed on a rolling parts rack. The technicians at the build down stage have to organize and document each part in order to guide the reassembly team.

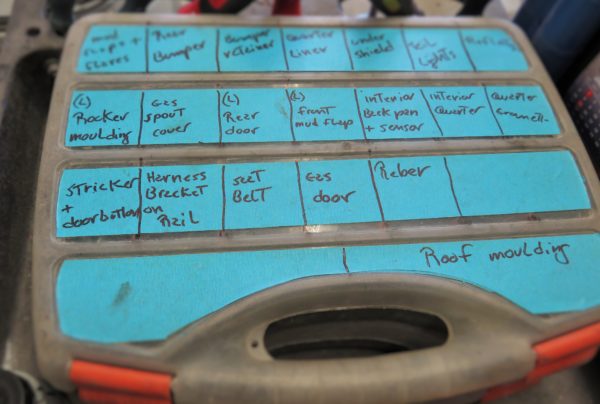
Compartment case helps identify where the small pieces belong.
Bob Oke is an experienced auto body technician. He has worked in every department of the shop since 1996 and he is currently one of the assembly technicians.
“In the past, the same technician would perform all the repairs on a same vehicle so that that person would know all the little odd things about it when came time to reassemble,” says Bob.

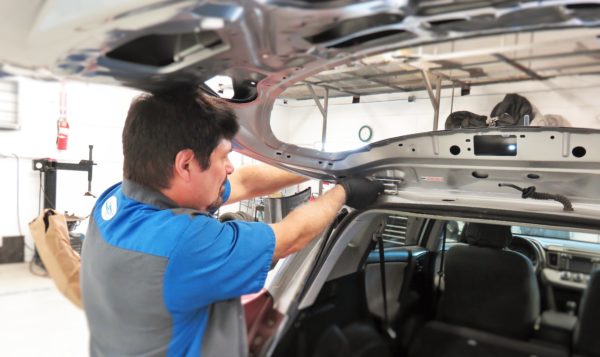
Reassembling the tail gate of a vehicle.
Today, since a car moves from department to department to increase efficiency and turn around, it is mandatory that a good system be in place.
For one, the build down staff will use a compartment case and write down the names of the parts and their location on top of each compartment to better identify the pieces. They are also asked to identify odd looking pieces that could delay the reassembly process simply because the technician would have to spend time looking around to find out where it’s supposed to go.
“I always tell them [build down] to add as much description as possible and not assume I know where the part goes,” says Bob.

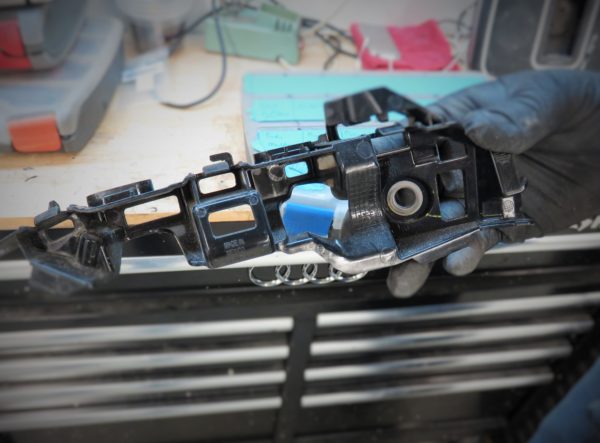
Odd pieces often need identification to help when reassembling.
According to Bob, reassembly relies 80% on experience and 20% on proper notes. Those notes can save delays and a walk in the shop to ask the build down technician if he can recall how the parts were assembled in the first place.
For more extensive jobs, — say more than bumpers and fenders — the technician who took the vehicle apart is usually scheduled to participate in its reassembly.
When the car is fully assembled, it’s time to scan it with a diagnostics scanner and perform one final visual quality control check.
